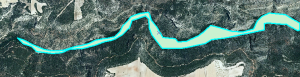
A common problem during environmental studies is calculating study areas or perimeters. If you are working with areas that are small enough so that its measure doesn’t appear anywhere, its size has to be measured manually. ArcGIS suggests a method to calculate them that depends on your precision skills.
The first step is to find the terrain location of the study. There are two ways to find it:
- downloading it as an ortophoto from a web resource such as a National Geographic Institute (this requires to first locate the quadrant of the study area and then download it)
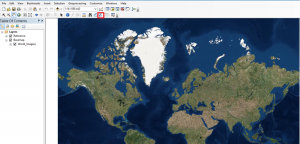
- through the basemaps application inside ArcGIS (if you choose this option the computer will work slower due to the fact that it will have to move a huge amount of data). To do so we will:
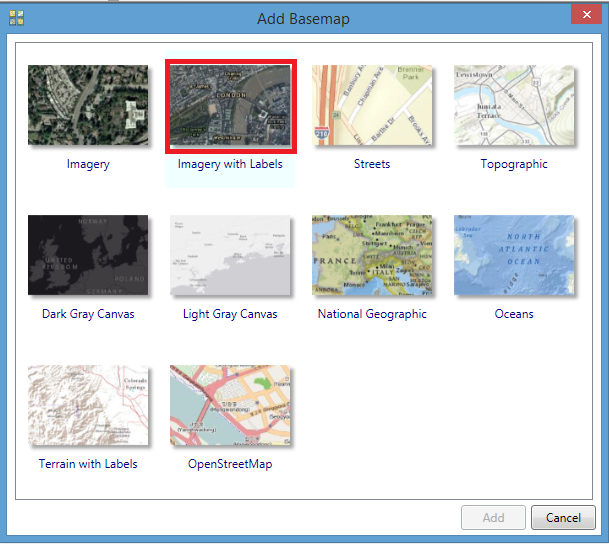
Access the File Menu > Add Data > Add basemap

Select the option that allows us to see the image with increased realism, “Imagery with labels” (I select this option instead of “Imagery” to guide us better with the annotations).
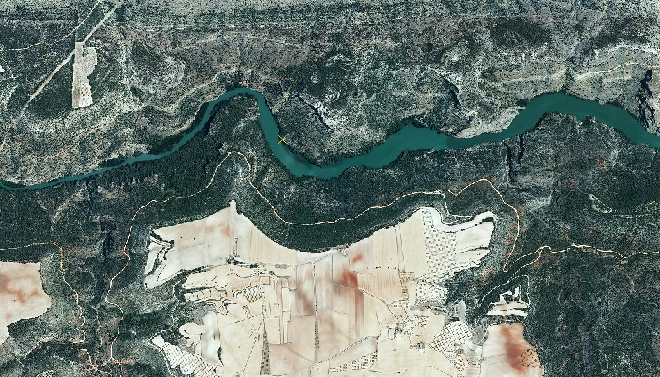
If we know the location coordinates we can locate the area more easily clicking in the search tool.
If not, we do it manually.
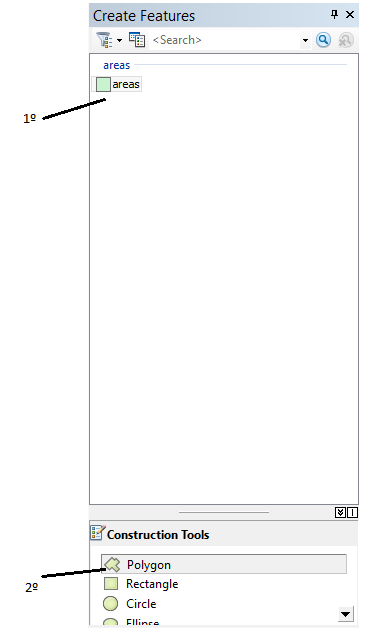
The next step is the design of a new polygons layer. Regarding this, it is very important to know where this layer is projected as if not the units used for the calculations will be undefined.
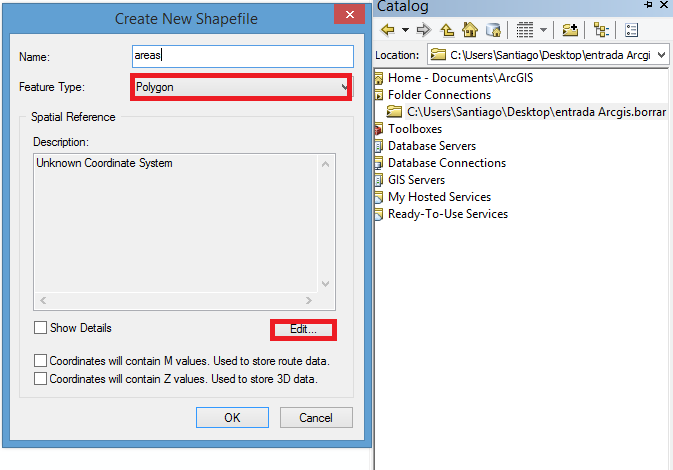
We will project going to “Edit”.
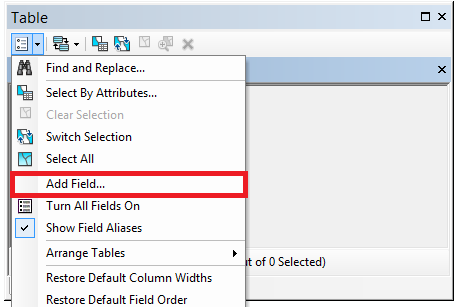
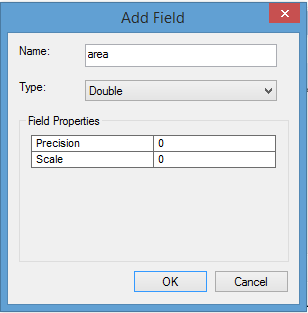
Once the layer is created, before editing, we will access the Attributes Table right clicking the layer and will add a new field, indicating that it is double (so that it admits decimals).
In this moment is when we click “Edit” and generate the polygons of the area that we want to calculate.
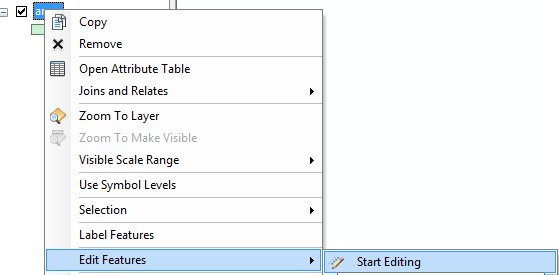
The next image will appear (if not we search for it in customize) and we select the specified task:
![]()
We will take a look at the right side of the screen and following this order we select these icons, and following, we start to draw the figure.
Once this is done, we will end the editing and access again the attributes table, selecting the new field generated and click Calculate Geometry > Calculate Area / Perimeter.
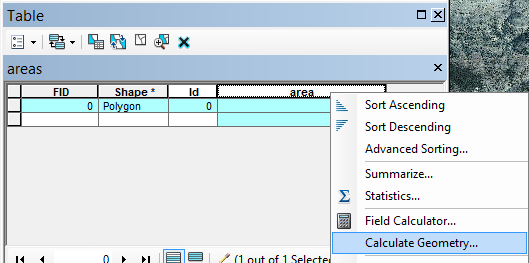

We can vary the units under the “Units” section.
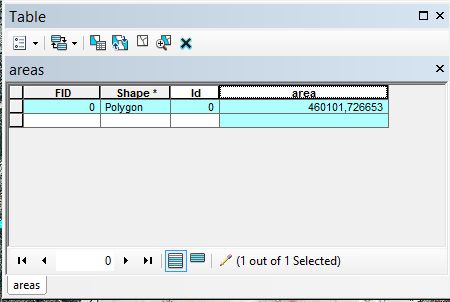
If we want to keep both the data and the polygons we have to click “stop editing” and save.
Quality training taught by professionals
RECOMMENDED COURSE


Leave A Comment